|
|
|
I tried the full corflute job and didn't
like it - too bulky. This lycra compromise gives a slight increase on
the rolldown and weighs next to nothing. I think I can improve the front
profile but I'll have to get some aluminium rod - the tube doesn't bend
very well, even with a spring bender.
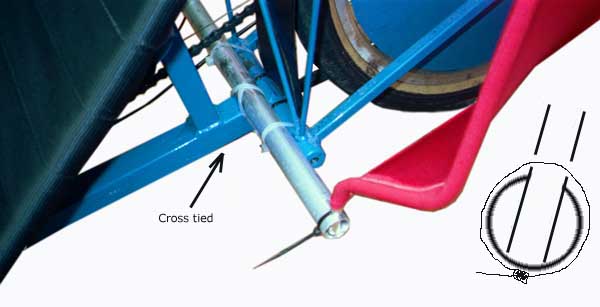
It's fixed on with cable ties - the lower spreader is notched and taped
to fit over the frame, then cross tied. The ends are drilled to accept
the front profile and the profile ends cable tied in to the larger tube.
There's a standard top box on the rack underneath and a zip to get at it. The rear profile is a 250 x 600 sheet of corflute with a cutout for the tyre and side reinforcement of a triangular corflute 'girder.'
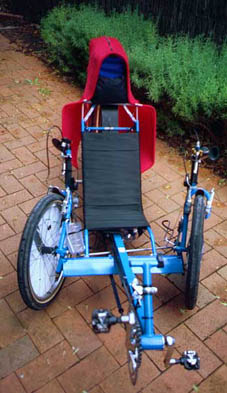
Front view |
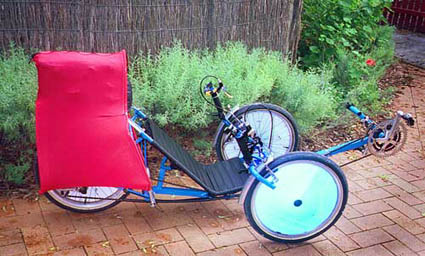
MR Swift with soft tailbox |
|
 |
 |
It's a matter of fitting and measuring in stages, starting with the front and back profiles. All hemming and sewing of velcro and zip should be done with the lycra stretched, otherwise the hems will prevent the lycra pulling tight.
I put a large bit of cardboard behind the seat and drew around my torso while seated. (Not easy, but there wasn't anyone else around at the time....)
An aluminium tube was bent to match the drawing. The ends of the 'U' were cut to place the profile at the correct height and for later attachment to a crossbar attached to the trike frame.
I made the crossbar from a length of 25mm aluminium tube, cut a recess in the middle to locate it on the frame. I taped the recess with duct tape, so it won't scratch the powdercoat. Two heavy cable ties tied diagonally around it and the frame hold it firmly. Before I finally tied it on, I drilled a hole through one side of the tube only, at either end, at the correct width and angle for the ends of the U shaped front profile. The profile tube ends sit down in the holes and are tied in with a cable tie passing under the cross bar and through a hole in the profile tube ends (just above the large tube.)
I cut a piece of corflute and bolted it to the rear of the pannier rack. It needed a cutout for the wheel and the sides were reinforced with triangular corflute girders folded and hot glued.
Next step was to take a metre length of lycra cloth and make a hem large enough to accept the aluminium tube. I marked the centre point, then threaded the tube through the hem with the centre mark at the top of the tube, put the tube back in its rough position and temporarily taped the tube to the trike with duct tape.
Now around to the back and pull the lycra taut back to the rear profile. I marked it roughly with a texta and also marked the bottom hem. I happened to have a dressmakers hem marker that puffs a chalk mark at a preset height but I'm sure you can mark it with a ruler and felt nib.
The bottom hem was cut oversize then overlocked. I put the sock back on and pulled it taut again, this time marking it accurately for trimming the rear. Off again and hemmed the sock to size. I sewed velcro on the rear cutout and hot glued two strips on the tail profile.
I sewed a zip in the top to allow access to the pannier box.
The Soft Tailbox
Another week....another project.... this is a lycra (spandex) tailbox